Korok Keychains
These are some keychains I made to learn how to use a laser cutter and pour resin. I made a few sets of these of increasing quality as I learned more about the process. After finishing I've been giving them as gifts and hiding them inside geocaches around the Milwaukee area.
Design
Use Inkscape to design the keychain using vectors.Laser-Cut
Sand and Seal
Lightly sand off any darkened areas from the laser and seal the wood as best as possible to avoid resin bleed (this was an extra step I learned to add in after cutting some sets). Here's an image of the outcome if sealing isn't done - notice the horizontal bleeding of the resin into the grain of the wood.
Resin Pour and Sanding
Pour in colored resin to fill the empty areas left by the laser and sand off any excess resin.
 I did some experimenting with light resin and dark stains but the results were not great.
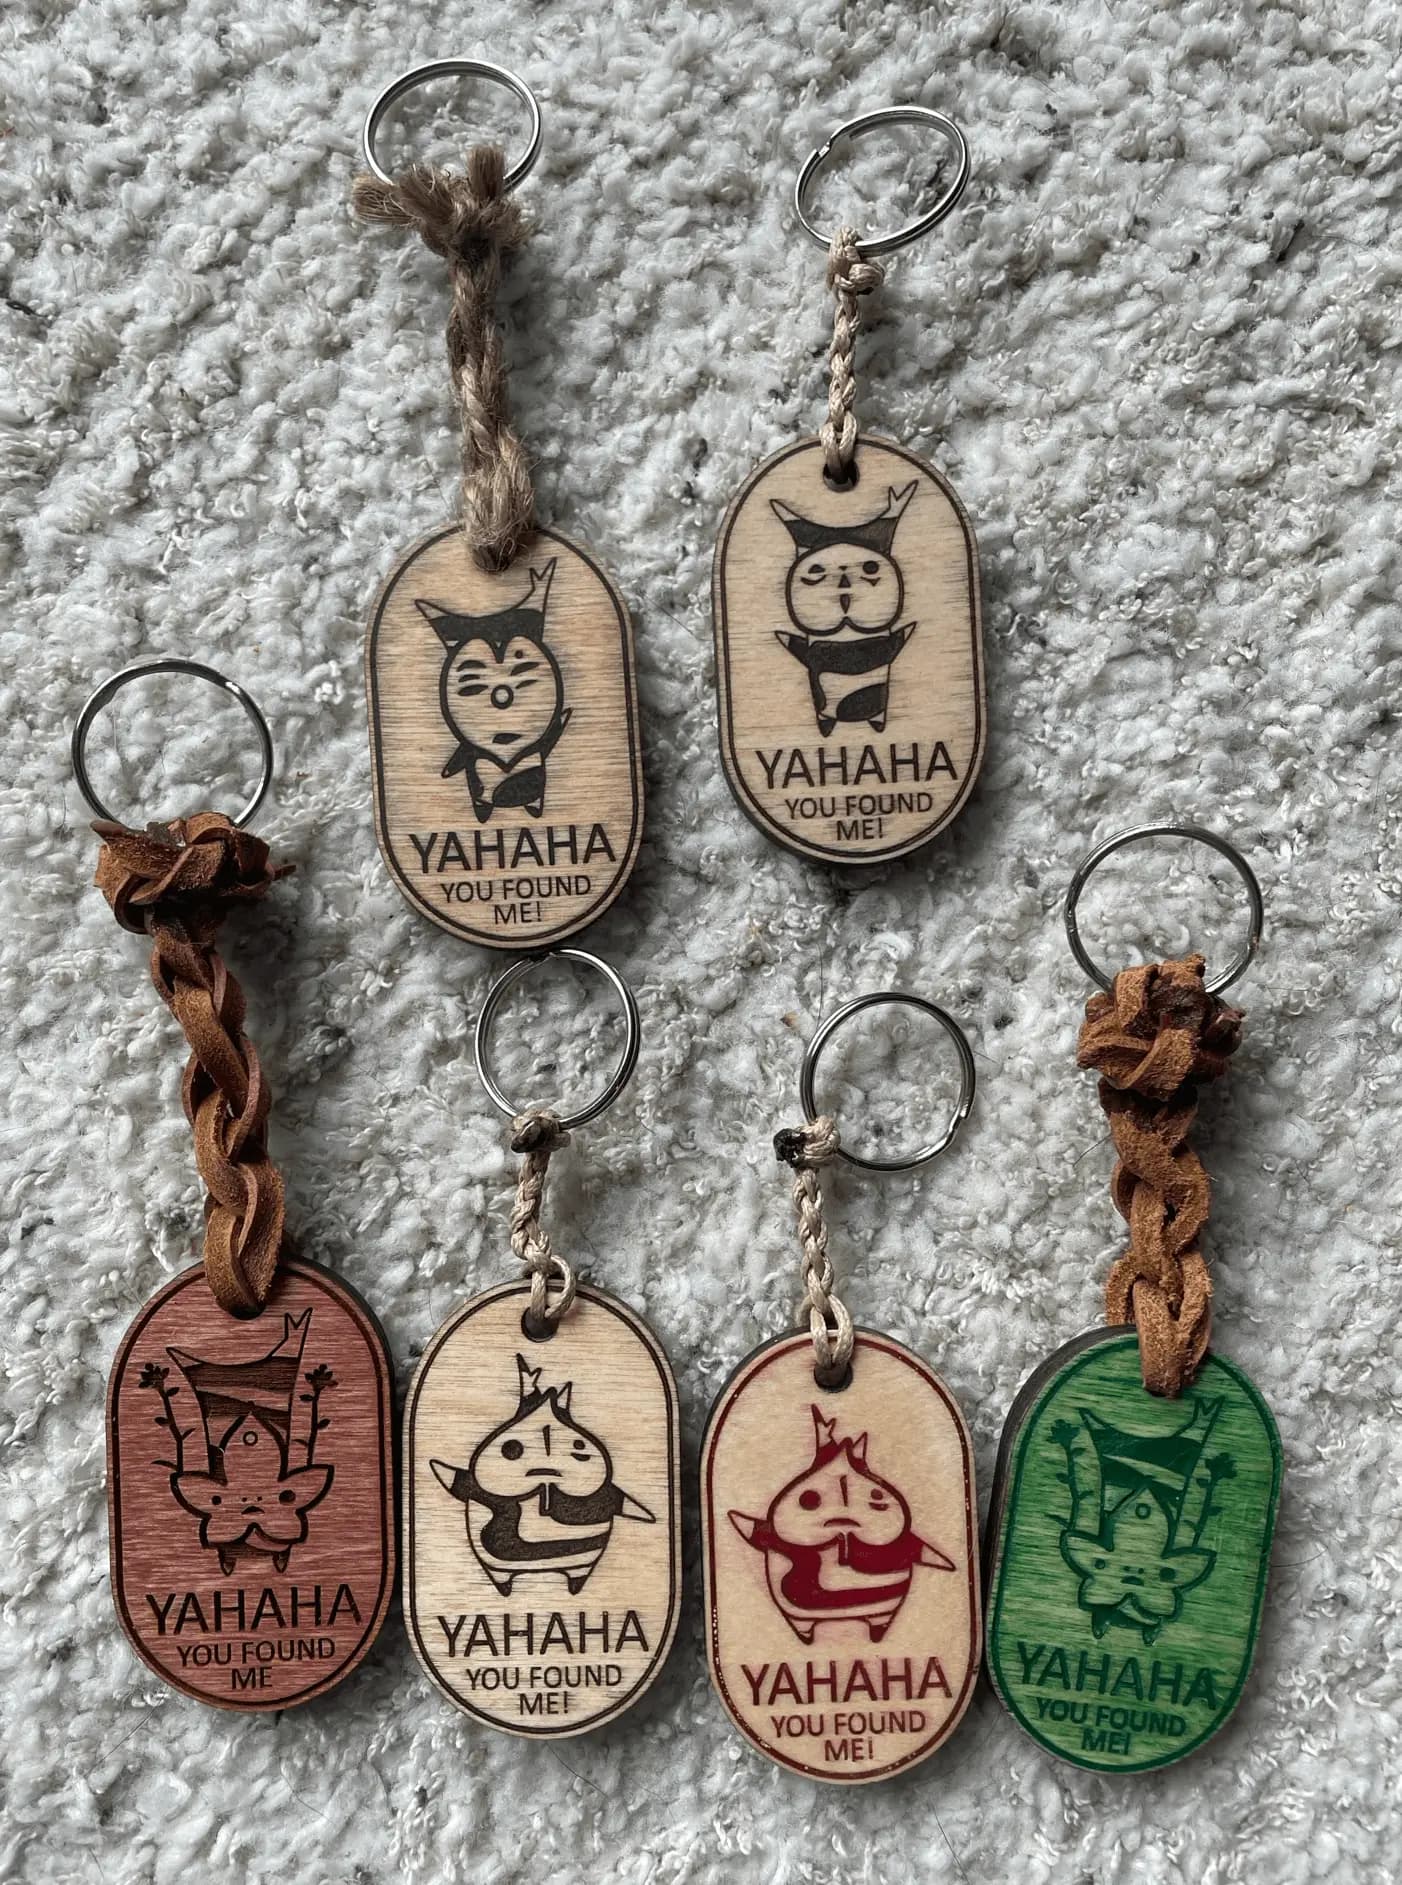
 Here's an assortment of completed keychains ready for knotwork!
Finishing and Knotwork
Finish the exposed wood with a polyurethane coat and attach a split ring with some fancy knotwork to finish the keychain. Here is an assortment of materials I experimented with. One of the key knots I learned and used in this process was a "wall knot". It's a very pretty knot!
 Here's a finished product that utilized wax cord that was able to be melted to prevent it from coming undone.
 And here's an example of one that used leather cord.
 The finished product!